Etronix
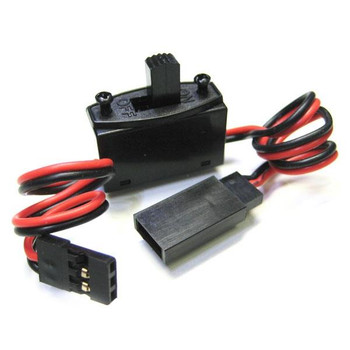
Etronix Futaba Switch ET0781 loom Servo connection plugs Leads RC
- SKU:
- ET0781
- UPC:
- 5055323930119
Description
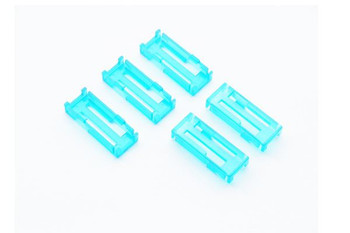
Additional Information - Futaba has a locating tab on the side and JR has rounded corners. These designs are to avoid reverse connection. With modification that can be interchanged.
ETRONIX FUTABA SWITCH
Etronix Futaba Switch ET0781
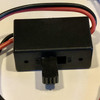
IMPORTANT - in 2023 the design of these has changed to a rectangular plate on the top and they are larger than the old version. Image to be updated.
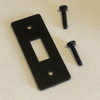
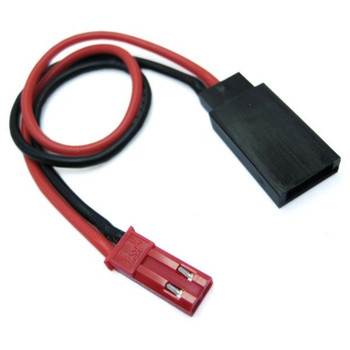
Supplied with Male connector on one end and Female on the other, both Futaba. This can also be mouted through a panel as the ON/OFF plate is seperate mounted with supplied screws. Simply cust a 9x5mm slot, maximum panel thickness is 5mm.
Can be used to turn on and off accessories like lights, or Power to a Winch etc.
Dimentions Approximately
300mm total length with the switch in the middles. Lead in not cirled as image.
Main switch body 10x14x26mm
Maximum panel thickness 5mm
Switch 8mm tall
Use a mechanical on/off switch that has a very positive, stiff mechanical operation, where switch slider ‘clicks’ solidly into place in both the ON and OFF positions. Avoid switches that have a ‘soft’ operation, where the slider is easy to move. Also, a switch that has a tall slider is much easier to operate than a switch with a short slider.
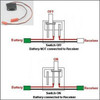
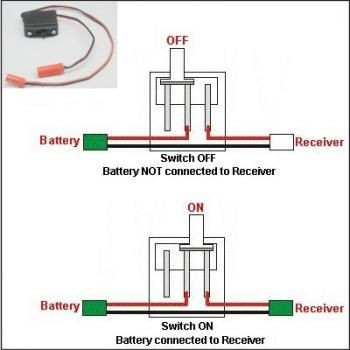
A 2-plug on/off switch is a very simple device. You connect one plug to the receiver battery, and the other end into the receiver. Turn the switch ‘ON’ to power the receiver; turn the switch ‘OFF’ to break the circuit.
However, to charge your receiver battery, you have to disconnect the battery from the switch, connect a charger to the battery, then charge. When you are finished charging, you have to disconnect the charger, then reconnect the receiver battery to the switch. If your wiring is all bundled up for protection, this may prove bothersome.
If you still want to use a simple on/off switch on your car, but want to be able to charge your receiver battery more easily, consider using a 3-plug/lead switch.
The primary difference between Futaba and JR servo connectors lies in their keying/polarity and housing design. Futaba connectors have a prominent tab on the signal (usually black) wire side of the female connector to ensure correct polarity, while JR connectors typically have beveled corners on the male connector and angled tabs on the female connector to help with alignment. Futaba plugs can often be modified to fit JR connectors, but JR plugs may not fit Futaba receivers without modification.
Futaba and JR connectors are generally compatible due to their similar pin spacing and overall size, though Futaba connectors have a keying mechanism that might require modification to fit into a JR connector housing.


